3.5 KiB
Backend
Installation with Docker
Run the following command to install everything through docker.
The installation takes a bit longer on the first pass or on rebuild ...
$ docker-compose up

# rebuild the containers for a cleanup
$ docker-compose up --build
Wait a little until your backend is up and running at http://localhost:4000/.
Installation without Docker
For the local installation you need a recent version of node
(>= v10.12.0).
Install node dependencies with yarn:
$ cd backend
$ yarn install
Copy Environment Variables:
# in backend/
$ cp .env.template .env
Configure the new file according to your needs and your local setup. Make sure a local Neo4J instance is up and running.
Start the backend for development with:
$ yarn run dev
or start the backend in production environment with:
yarn run start
For e-mail delivery, please configure at least SMTP_HOST and SMTP_PORT in
your .env configuration file.
Your backend is up and running at http://localhost:4000/
This will start the GraphQL service by default on localhost:4000 where you
can issue GraphQL requests or access GraphQL Playground in the browser.
Seed Database
If you want your backend to return anything else than an empty response, you need to seed your database:
{% tabs %} {% tab title="Docker" %}
In another terminal run:
$ docker-compose exec backend yarn run db:seed
To reset the database run:
$ docker-compose exec backend yarn run db:reset
# you could also wipe out your neo4j database and delete all volumes with:
$ docker-compose down -v
# if container is not running, run this command to set up your database indeces and contstraints
$ docker-compose run neo4j db_setup
{% endtab %}
{% tab title="Without Docker" %} Run:
$ yarn run db:seed
To reset the database run:
$ yarn run db:reset
{% endtab %} {% endtabs %}
Storybook
We encourage contributors to use Storybook to test out new components in an isolated way, and benefit from its many features.
See the docs for live examples and answers to FAQ, among other helpful information.
{% tabs %} {% tab title="Docker" %}
After you have started the application following the instructions above, in another terminal run:
$ docker-compose exec webapp yarn storybook
The output should look similar to this:
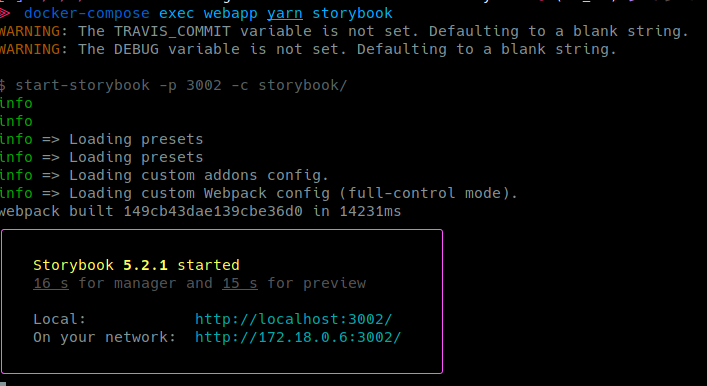
Click on the link http://localhost:3002/ to open the browser to your interactive storybook.
{% endtab %}
{% tab title="Without Docker" %} Run the following command:
# in webapp/
yarn storybook
Open http://localhost:3002/ in your browser
{% endtab %} {% endtabs %}
Testing
Beware: We have no multiple database setup at the moment. We clean the database after each test, running the tests will wipe out all your data!
{% tabs %} {% tab title="Docker" %}
Run the jest tests:
$ docker-compose exec backend yarn run test:jest
Run the cucumber features:
$ docker-compose exec backend yarn run test:cucumber
{% endtab %}
{% tab title="Without Docker" %}
Run the jest tests:
$ yarn run test:jest
Run the cucumber features:
$ yarn run test:cucumber
{% endtab %} {% endtabs %}